I spent some time on the leak detector recently. There are two fans, AC 230V, one for the diffusion pump, one for cooling the electronic box. Both started to make loud noise, so I had to replace them. I was surprised that the new fans are absolutely identical to these original 30 (or how many) years old ones! The same faston connectors, threaded holes for ground of the same diameter.. I would not believe something on that old machine could turn out to be so easy ;-)
This machine has two vacuum pumps, one for making rough vacuum in inlet port, one for making vacuum in detection section (together with diffusion pump). When You want to test some tube for leaks, the detection section is started first – it has to pump itself down to 5×10⁻⁵ torr, the filament could be switched on only around 10-5 and 5×10⁻⁴. It would react with oxygen at higher pressure and would gradually burn off. When the detection section is ready, the roughing pump is started, it pumps the inlet port with tested tube down to 10-2 torr. Than, with roughing pump still running, the manual valve between detection section and inlet port is slowly slightly opened until the pressure in detection section rises back to 5×10⁻⁵ torr, than the helium could be sprayed onto the tested tube to detect leaks. In this moment, the pressure in the inlet port is still on 10-2 torr despite the fact that it is connected to detection section where is much lower pressure – the manual valve is opened very slightly. All the process is automated and controlled by solenoid valves, one opens detection section, one allows the air go inside (to atmosphere pressure) and one opens the valve with roughing pump.
A little bit longer introduction ;-) But.. The machine in this form doesn’t allow me to pump the inlet port down to high vacuum because when the detection solenoid is opened also the roughing port is opened.. And I would like to use this machine to pump tubes down to high vacuum.. So I decided to add some level of user-control ;-) So I cut the wires going to solenoid valves and brought them to a little box with three switches (guitar 3way selector switch).

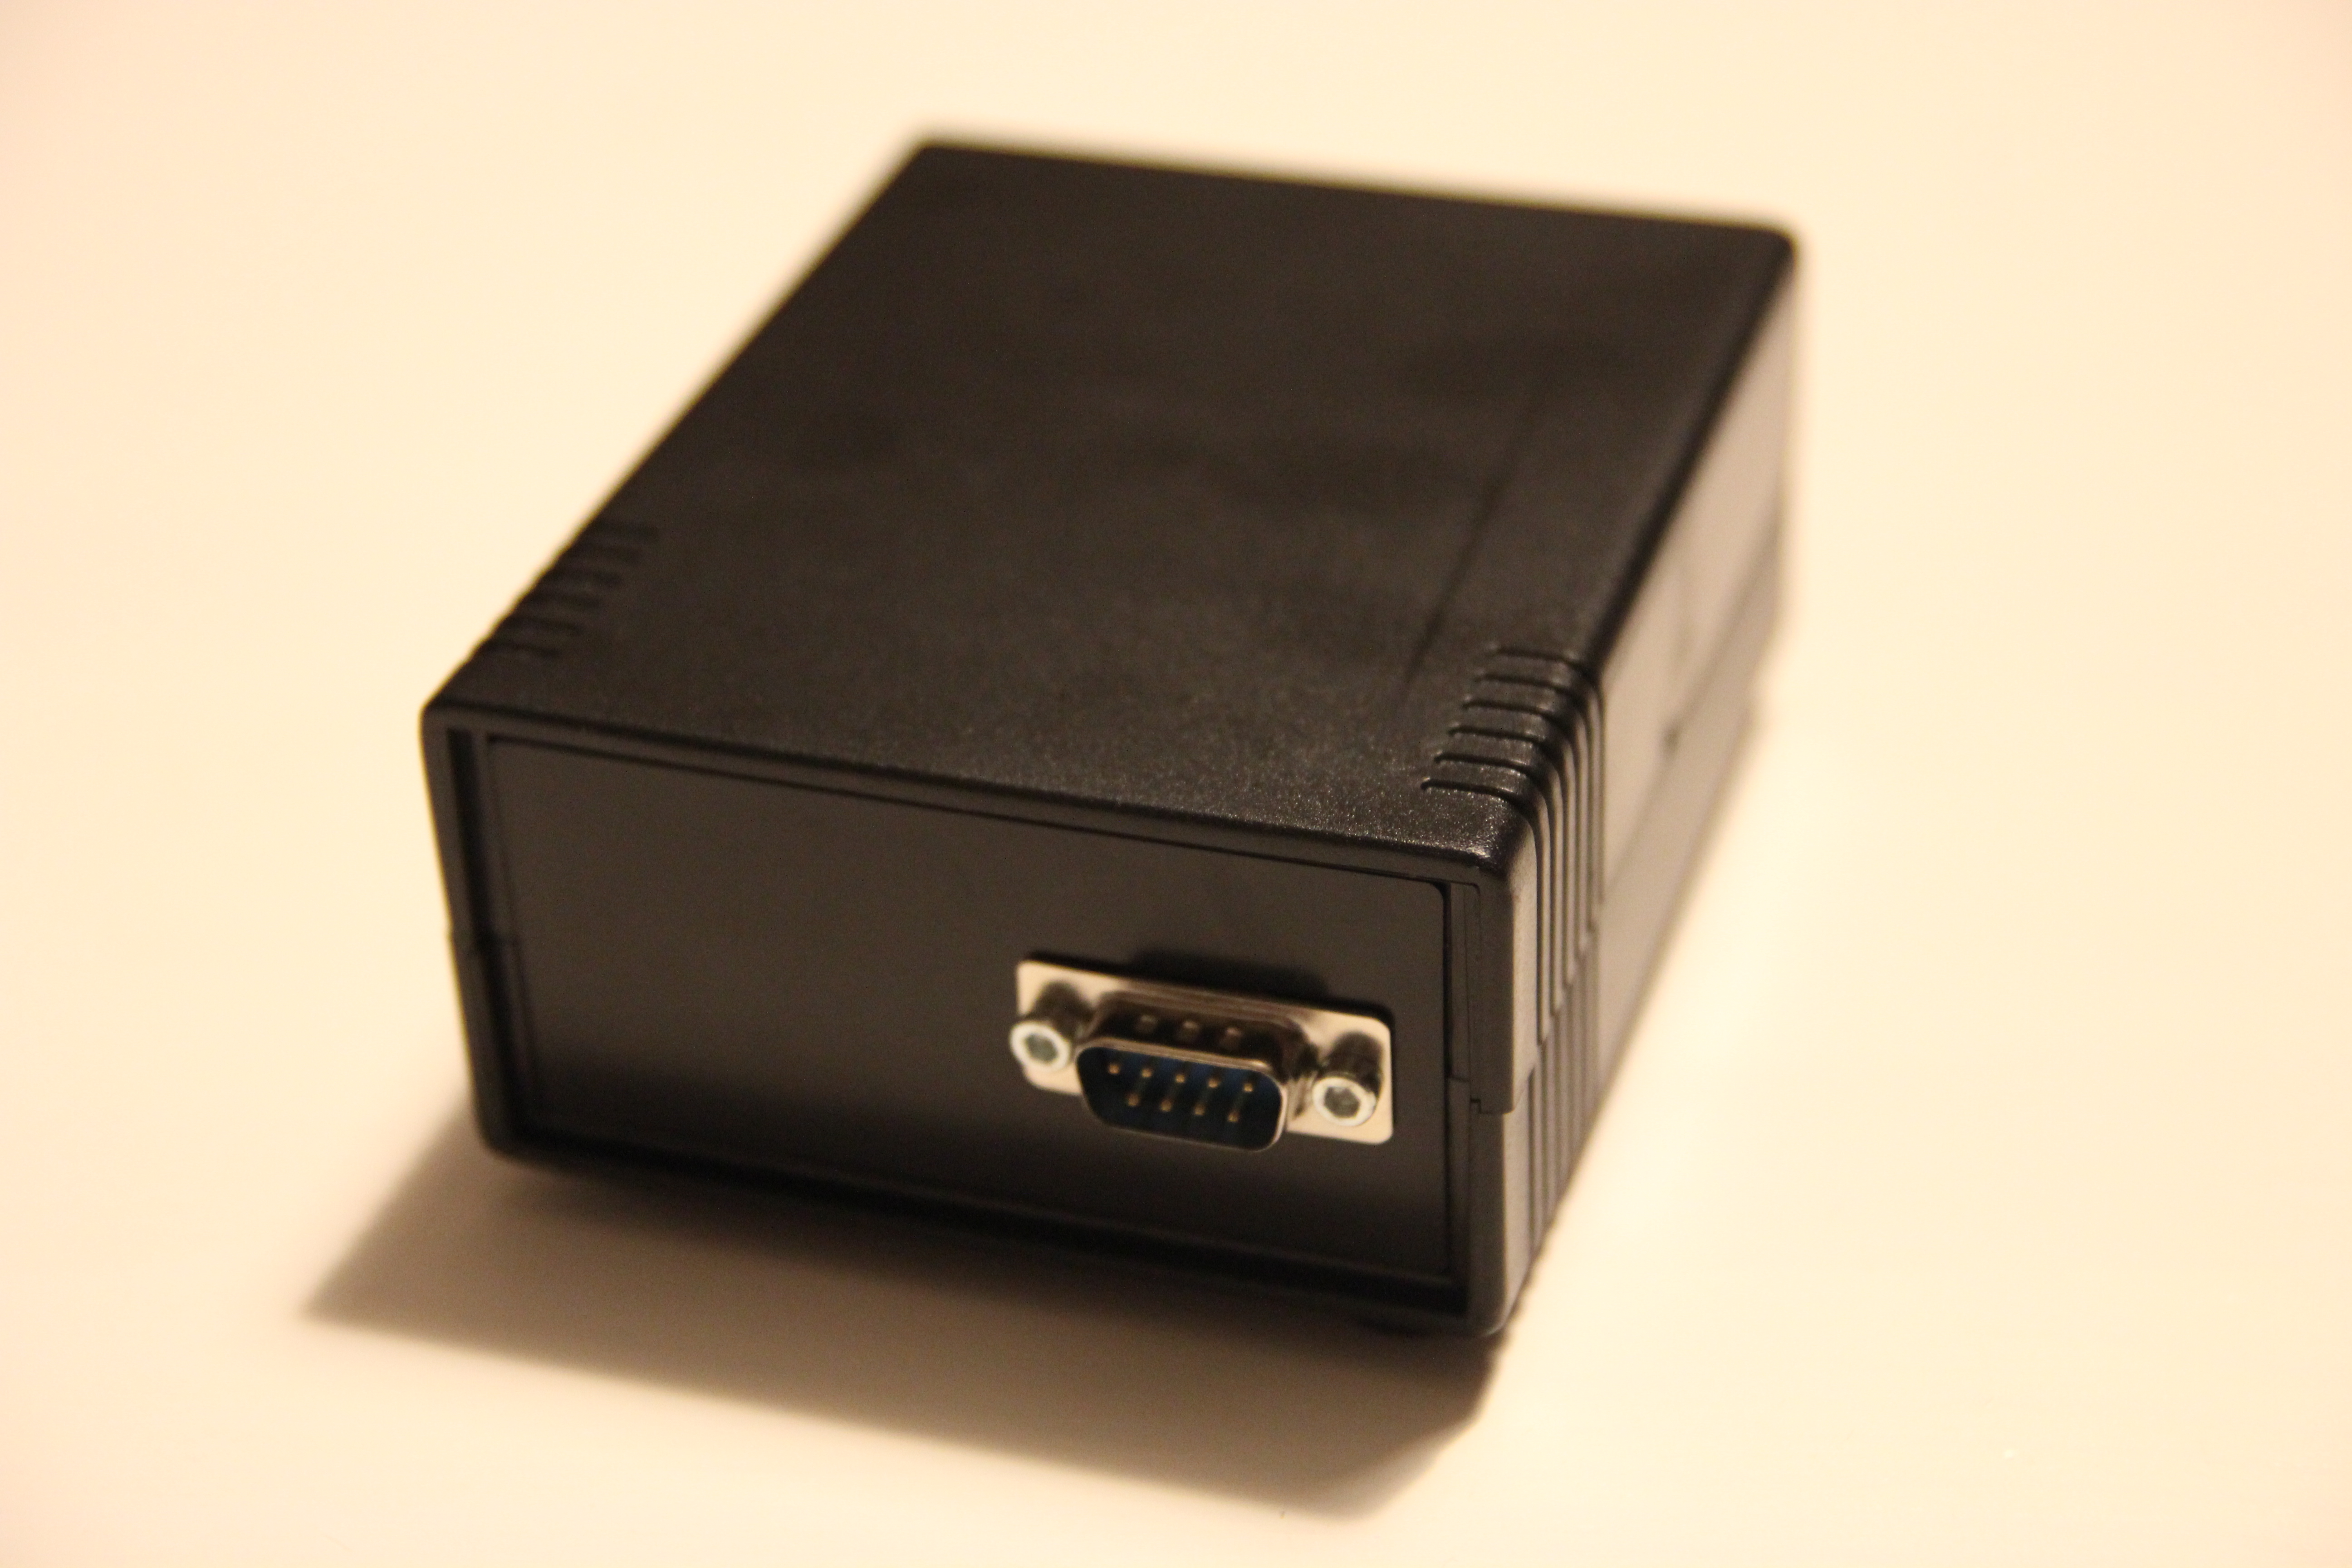
The box is connected to the machine by a 9 pin Canon connector. Six pins for three solenoids and one for a AC 24V line taken from the machine’s transformer. The switches had to be modified to give right states (A ON/B ON/ Both OFF) instead of original (A ON / B ON / Both ON). Nothing interesting in the box, just wiring. Solenoids could be now turned ON, OFF or be set to Auto – controlled by machine itself.
So, now I am able to control all solenoid valves independently. I could for example close Air and Roughing and let the inlet port be pumped just by diffusion pump by opening the Detection solenoid. And than it could be isolated by closing the Detection solenoid, so it holds vacuum and filled by gas.. It is now able to be used for making nixie tubes ;-)
Quite boring article, I know.. I am going to make some test tubes soon, I hope in two weeks or so, so stay tuned ;-)