At the beginning – I would like to thank to Ron Soyland, I would not be able to get it work without his great help (hundreds of emails) and his extensive knowlege. Thank You Ron!
When I bought the machine, I thought I will just google and download a manual for it. But it eventually turned out to be impossible, Alcatel is no longer in business (no support) and there are no mentions about manual for Alcatel ASM 51 on the web. Even the companies who rent it doesn’t have one :-D. Ron has an Alcatel ASM 10, what is similar, but simpler machine, so I was taking photos and Ron was revealing its function step by step ;-)
The first problem We found was that it is not possible to turn on the spectrometer filament, Ron guessed it was be problem with pirani sensor, what detects the pressure inside the system and should allow the spectrometer to turn on.. So quick measurement of the pirani sensor turned out that the filament in it is broken. The sensor itself is pretty simple stuff, just a common bulb with the tip cut off:
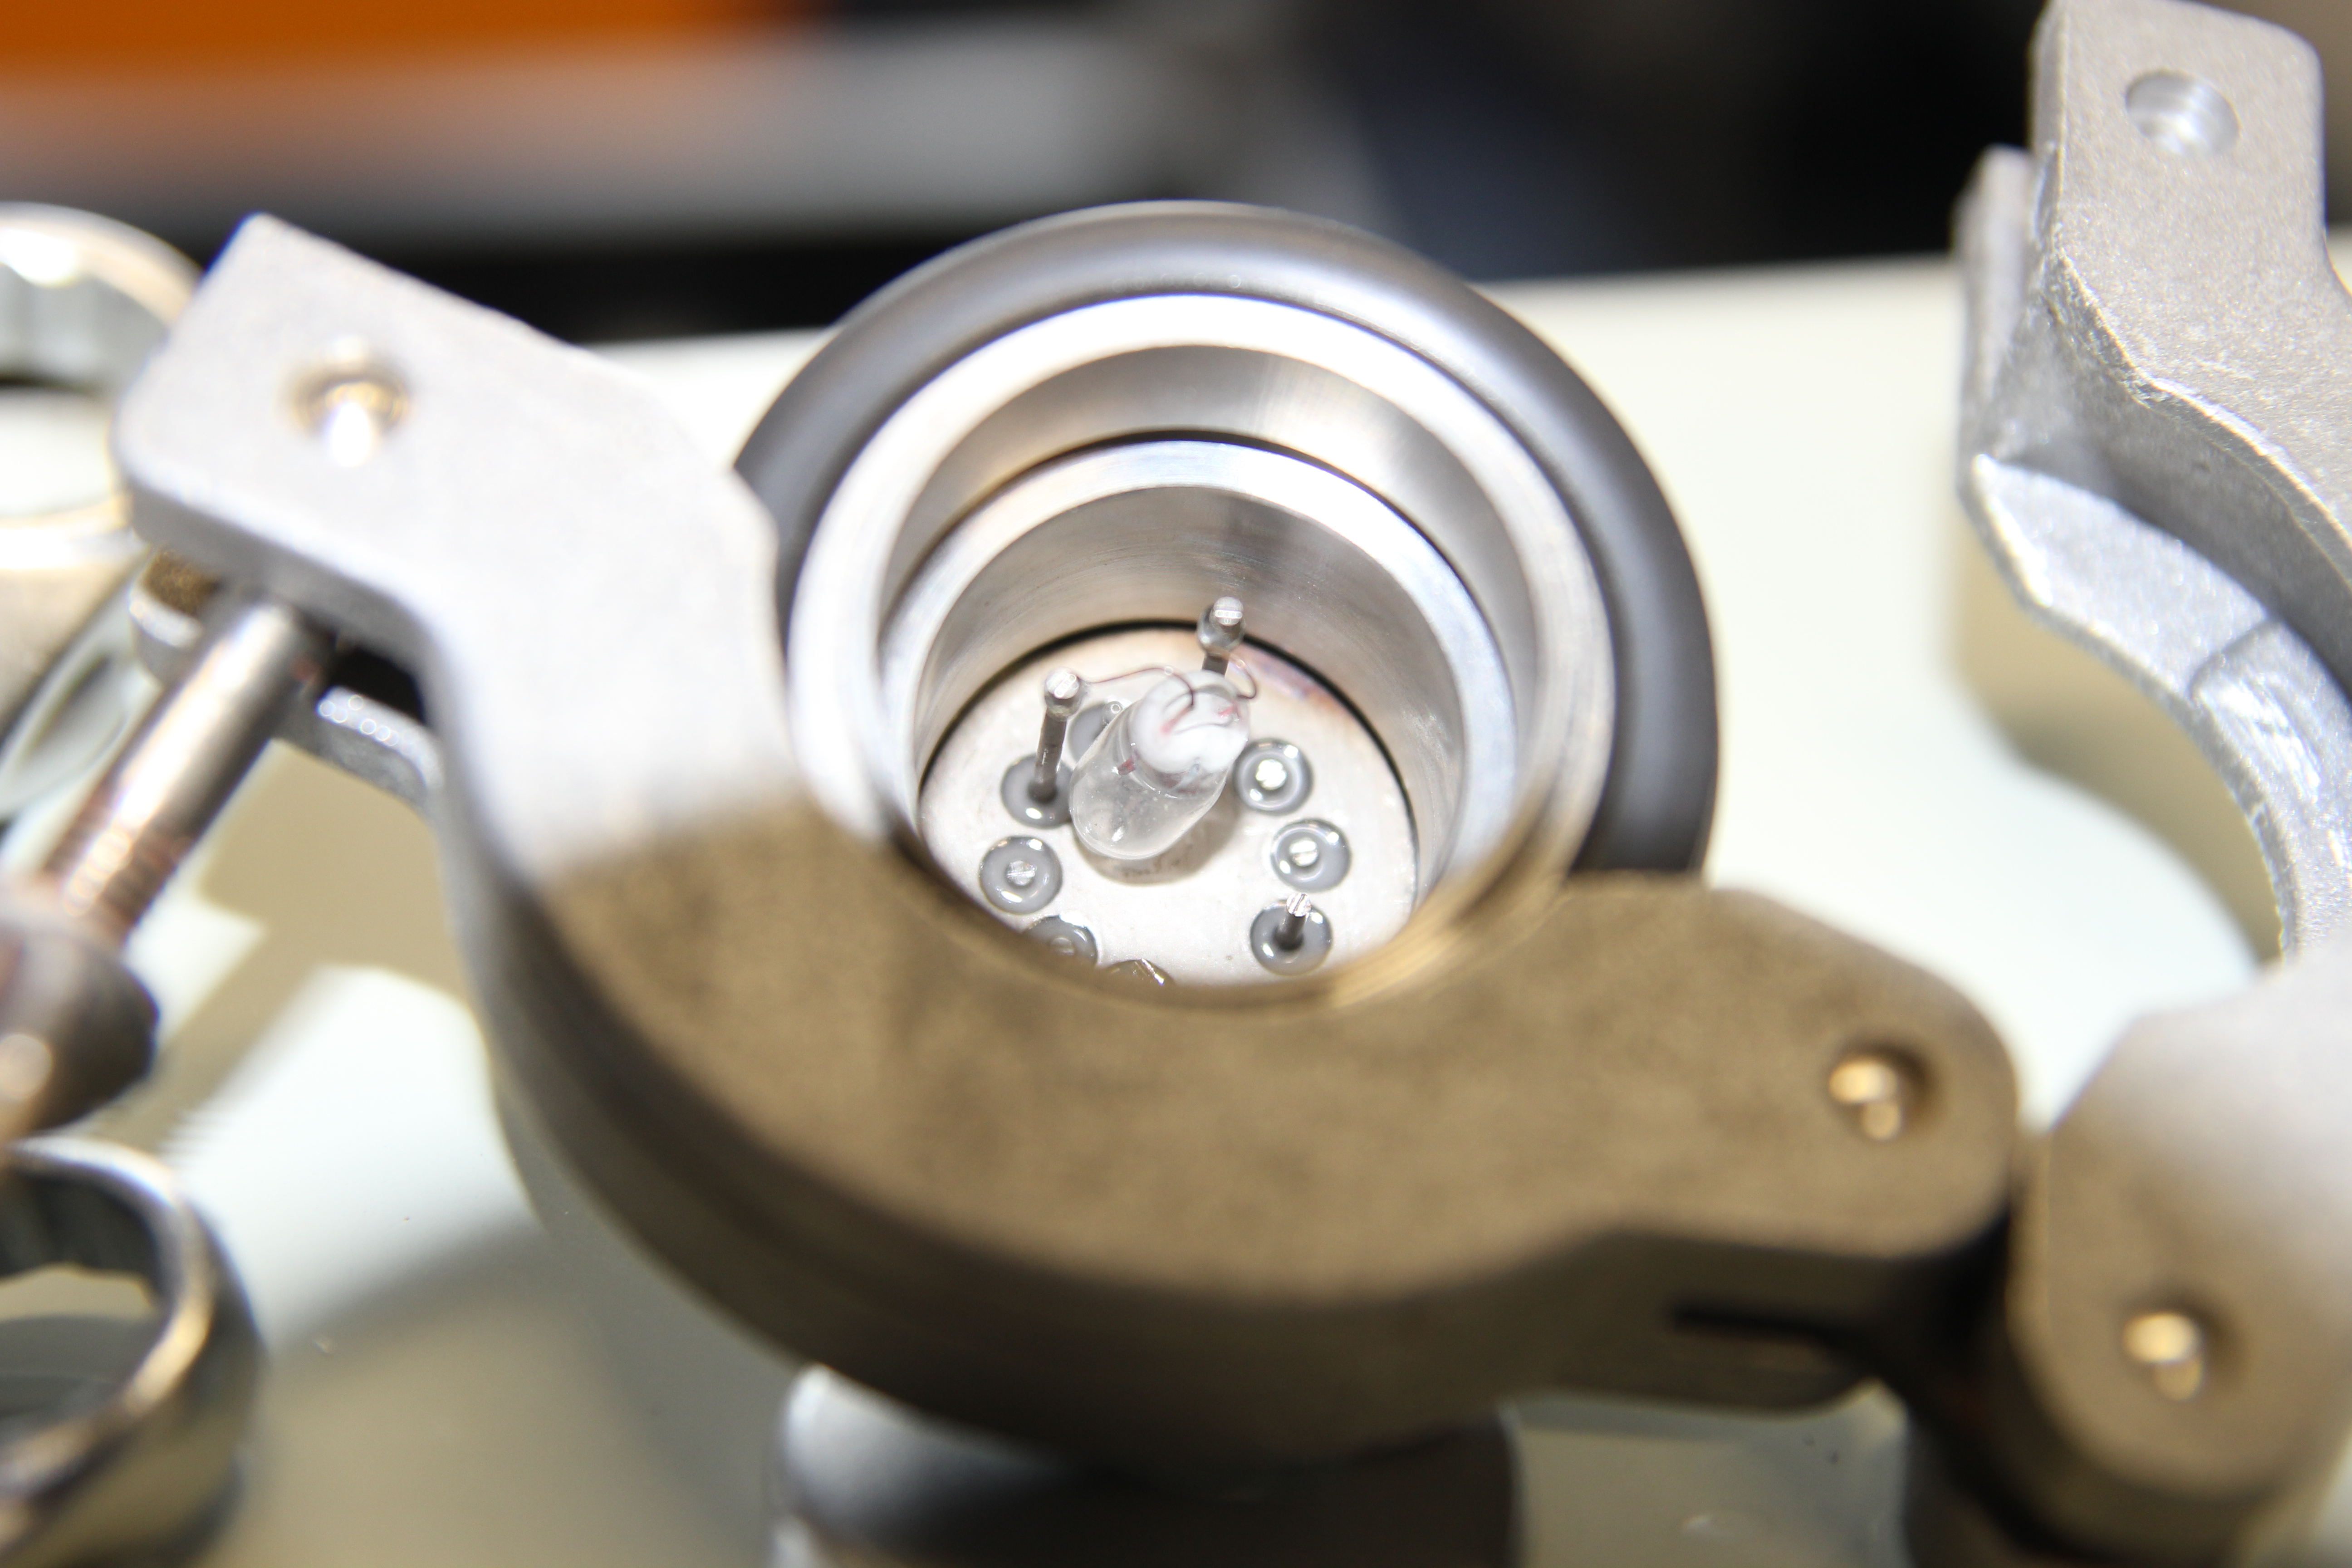
It is called “Alcatel PI1”, it could be bought for as low as 385 EUR complete sensor or 120 USD for just a bulb (but You have to order at least 5 pcs) :-D So Ron measured the cold resistance of his sensor, 70Ω. I took one 110Ω and one 300Ω panel bulb, cut its tips, spot weld it together (parallel) and then finally spot weld it instead of the original bulb. The final resistance is somewhere around 77Ω and it works nicely, it is not calibrated to switch on at exactly 10^-2 torr as the original one should be, but it will be near to that value.
 Repaired sensor, the original bulb lies on the flange..
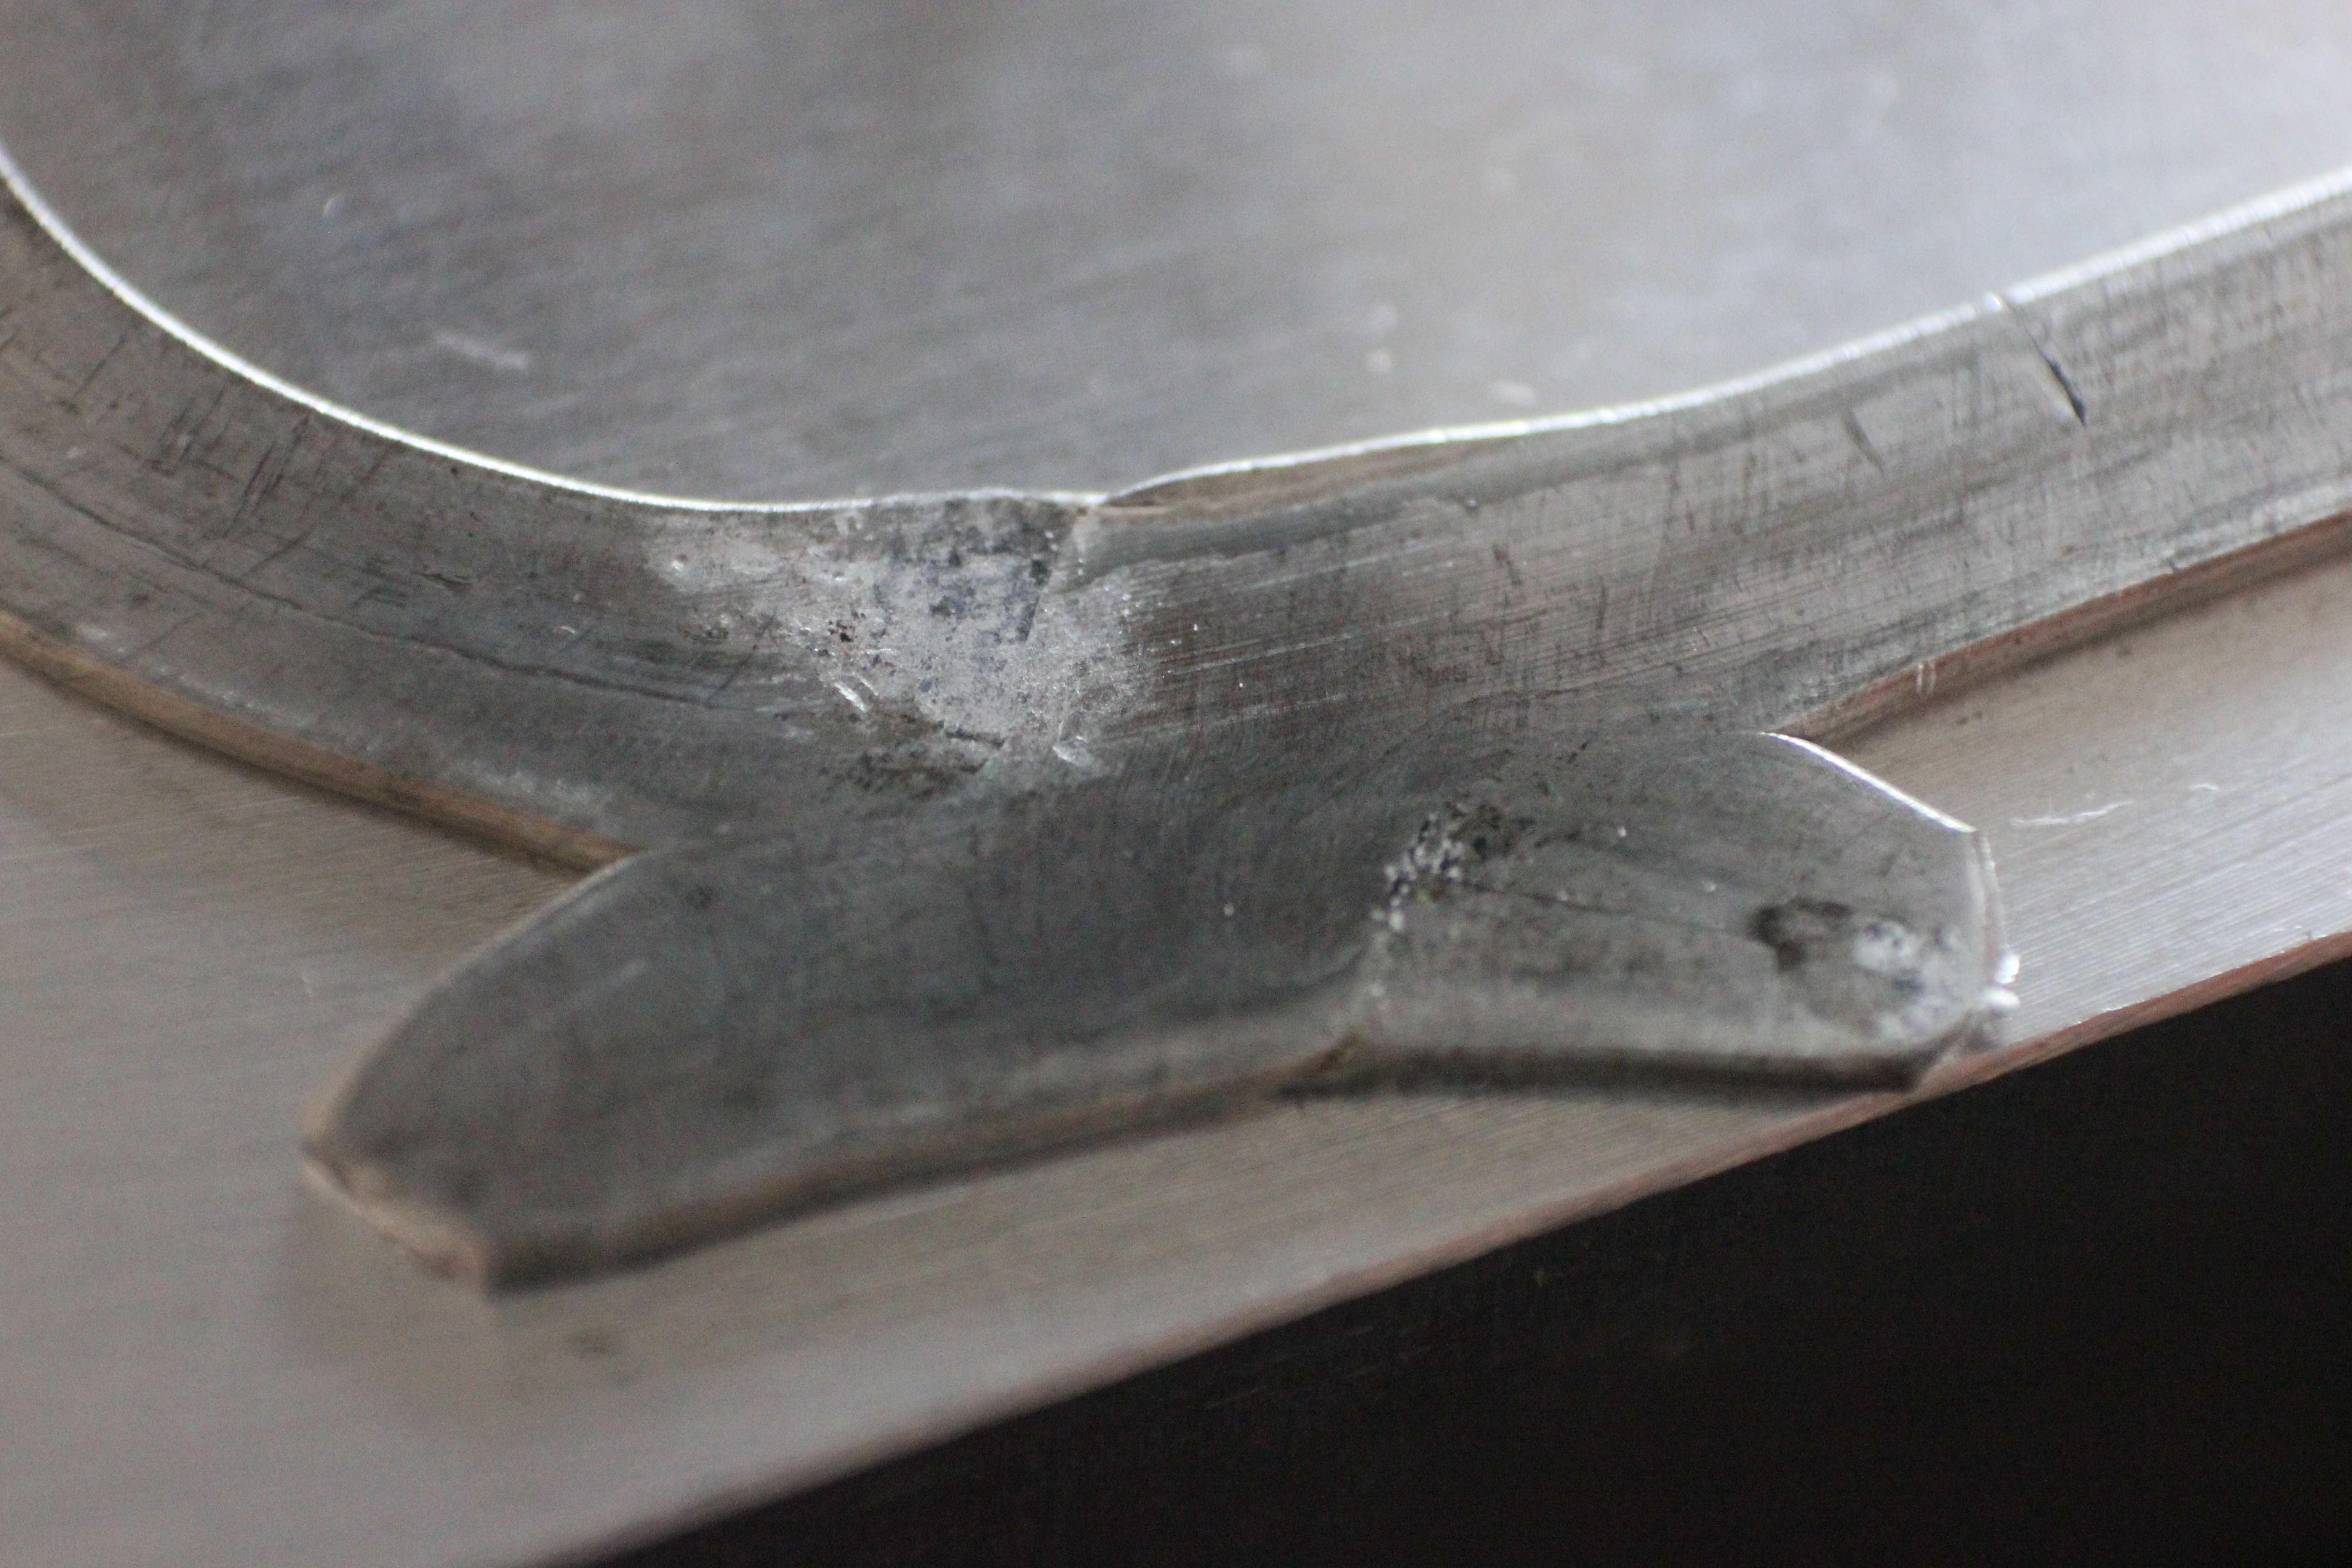
After this hack, I was able to turn on the filament, but is immediately turn on – there is a mechanism what protects the filament to be on at too low pressure. It should be run at pressures in 10^-5 torr range. It was not able to turn it on even after 4 hours of pumping.. So I begun to suspect the spectrometer tube itself to be leaky – I thought I damaged the gasket when I disassembled it. I started to gather information about the gasket, the material used here is indium wire, I ordered some from eBay and placed it instead of the original one, what was too thin to cover all the surface of the flanges what got bent by the pressure of the screws.. I also polished one side of the flange to mirror-smoothness, there were rough signs of milling.. I would do it also on the other part, but I was afraid of contaminating the inside of the spectrometer device. The wire is bent into the shape of the gasket, the ends are left overlapped. It is then pressed together by screws, the pressure forms the ductile indium into smallest streaks producing vacuum tight seal.
 Polished flange..

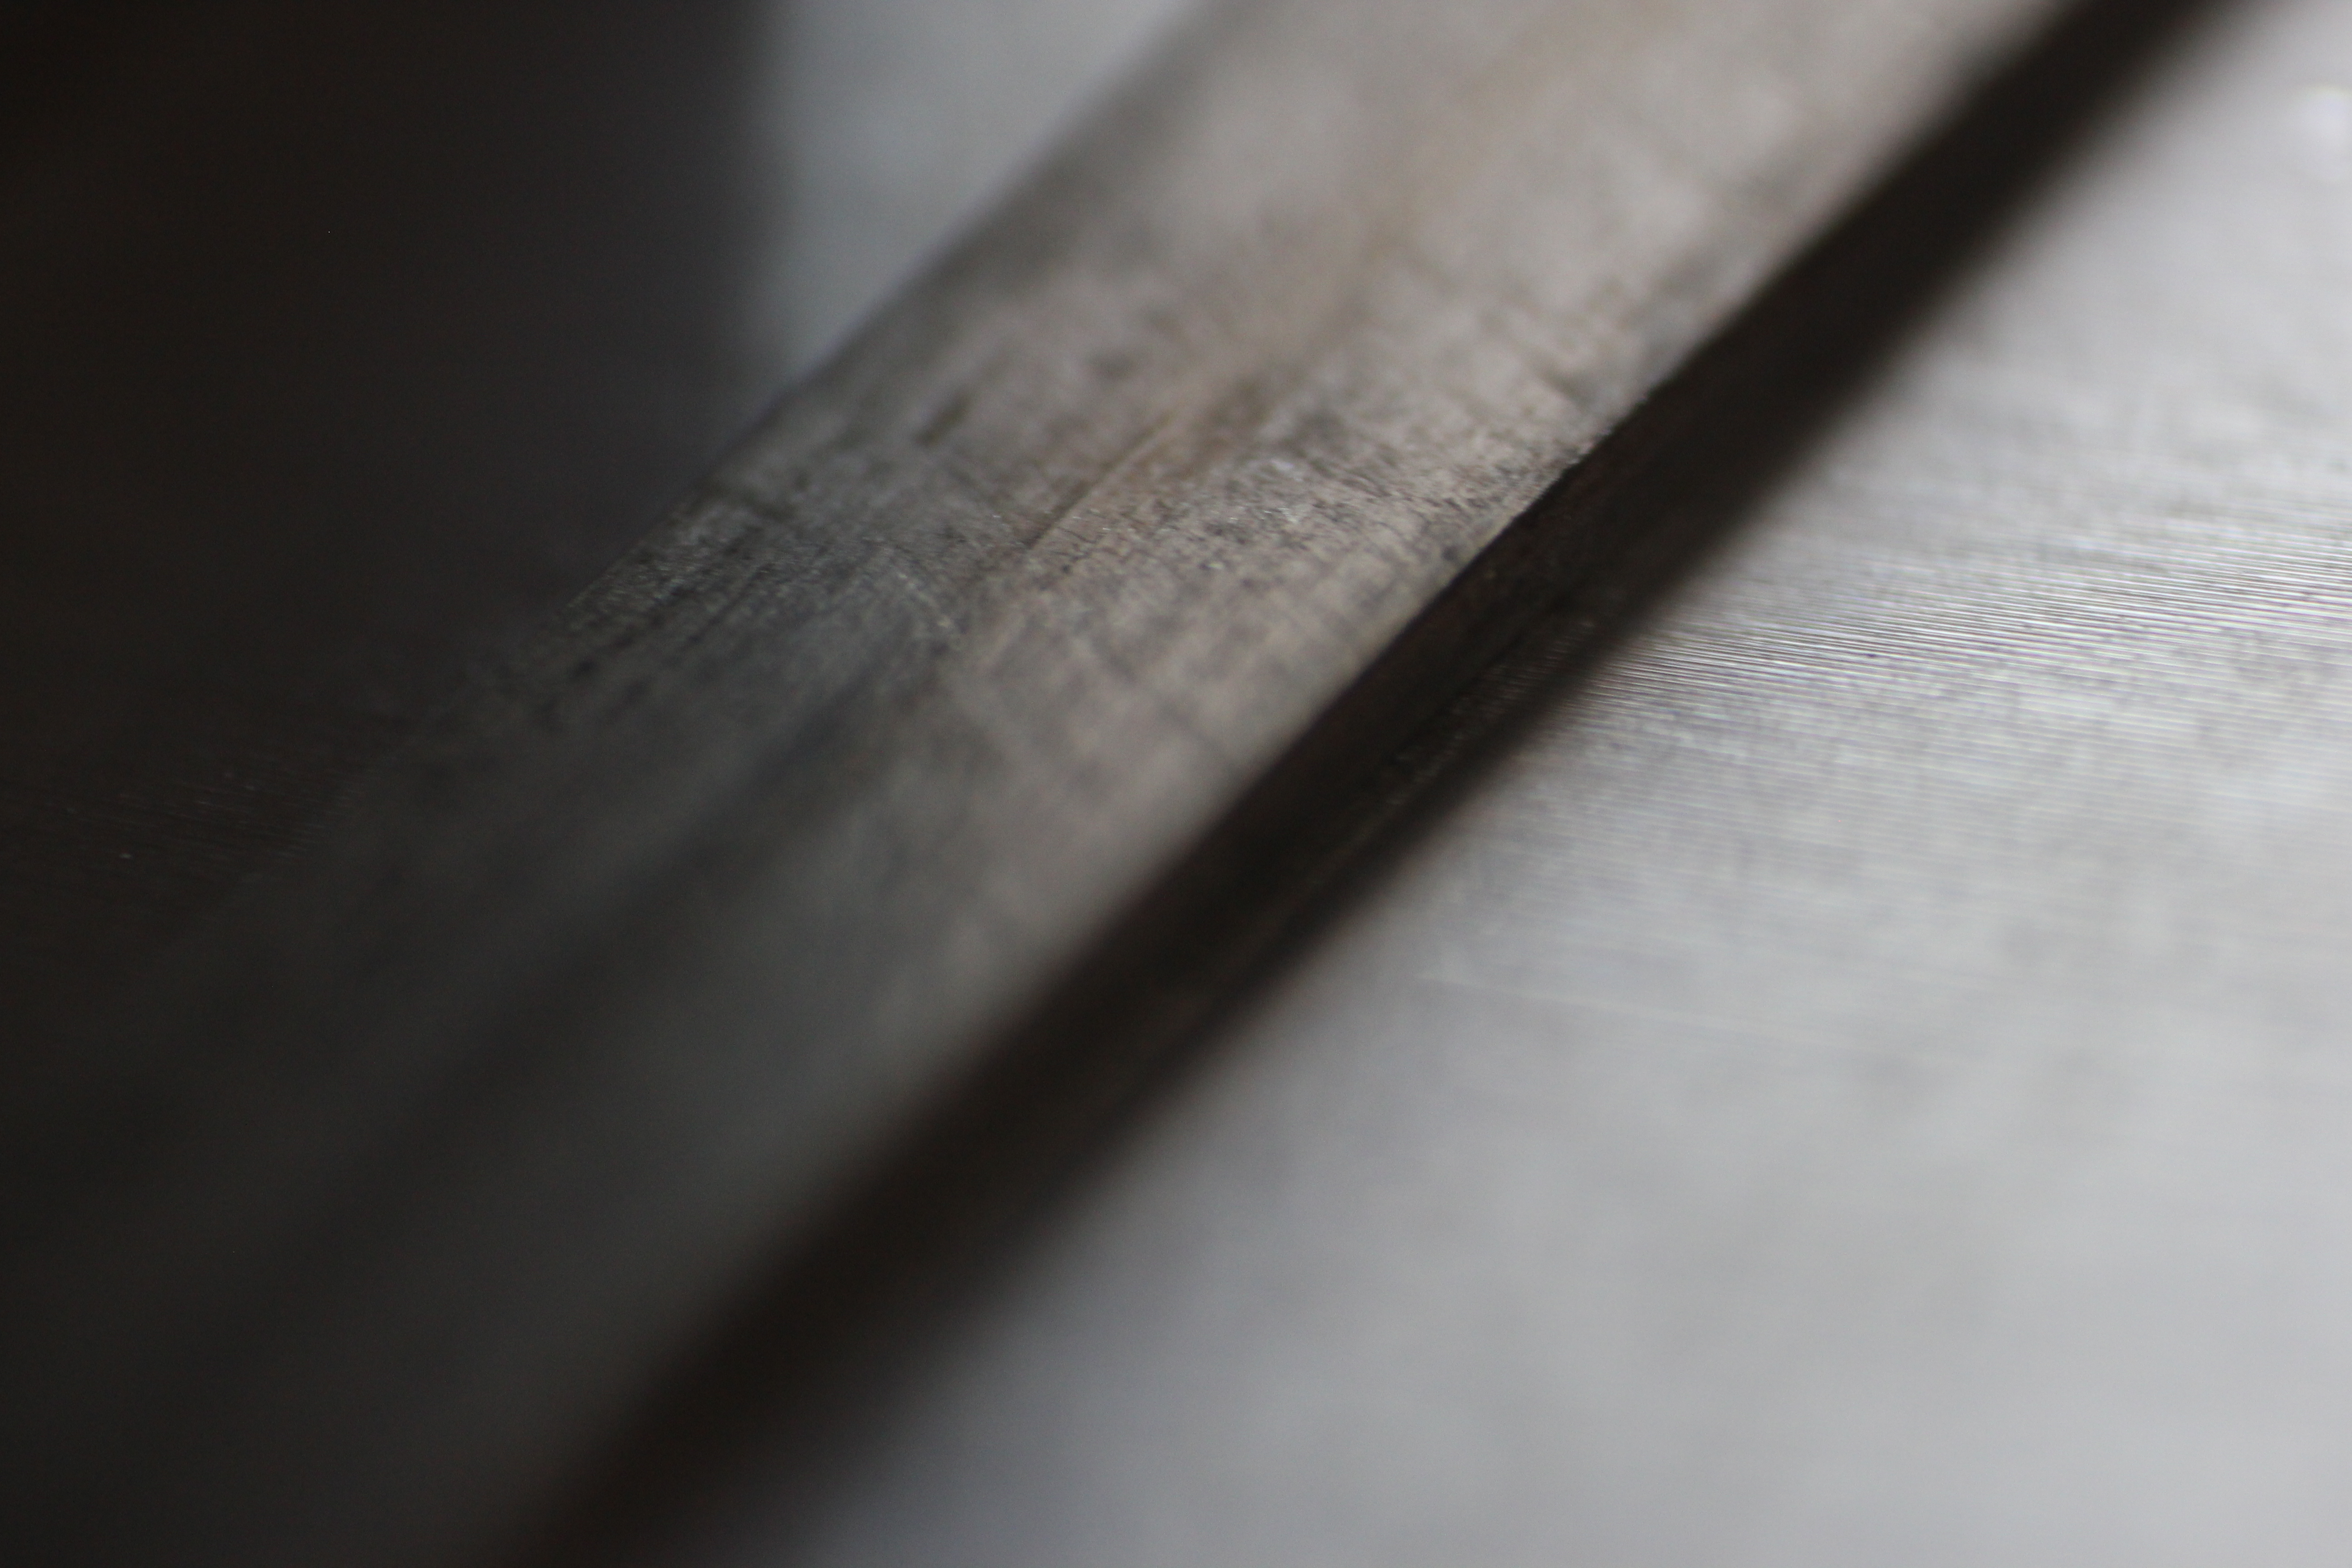
 A new gasket after disassembling, I just wanted to see how well it formed a new seal..
 Overlapped ends – this joining is called “cold welding”, hmm..
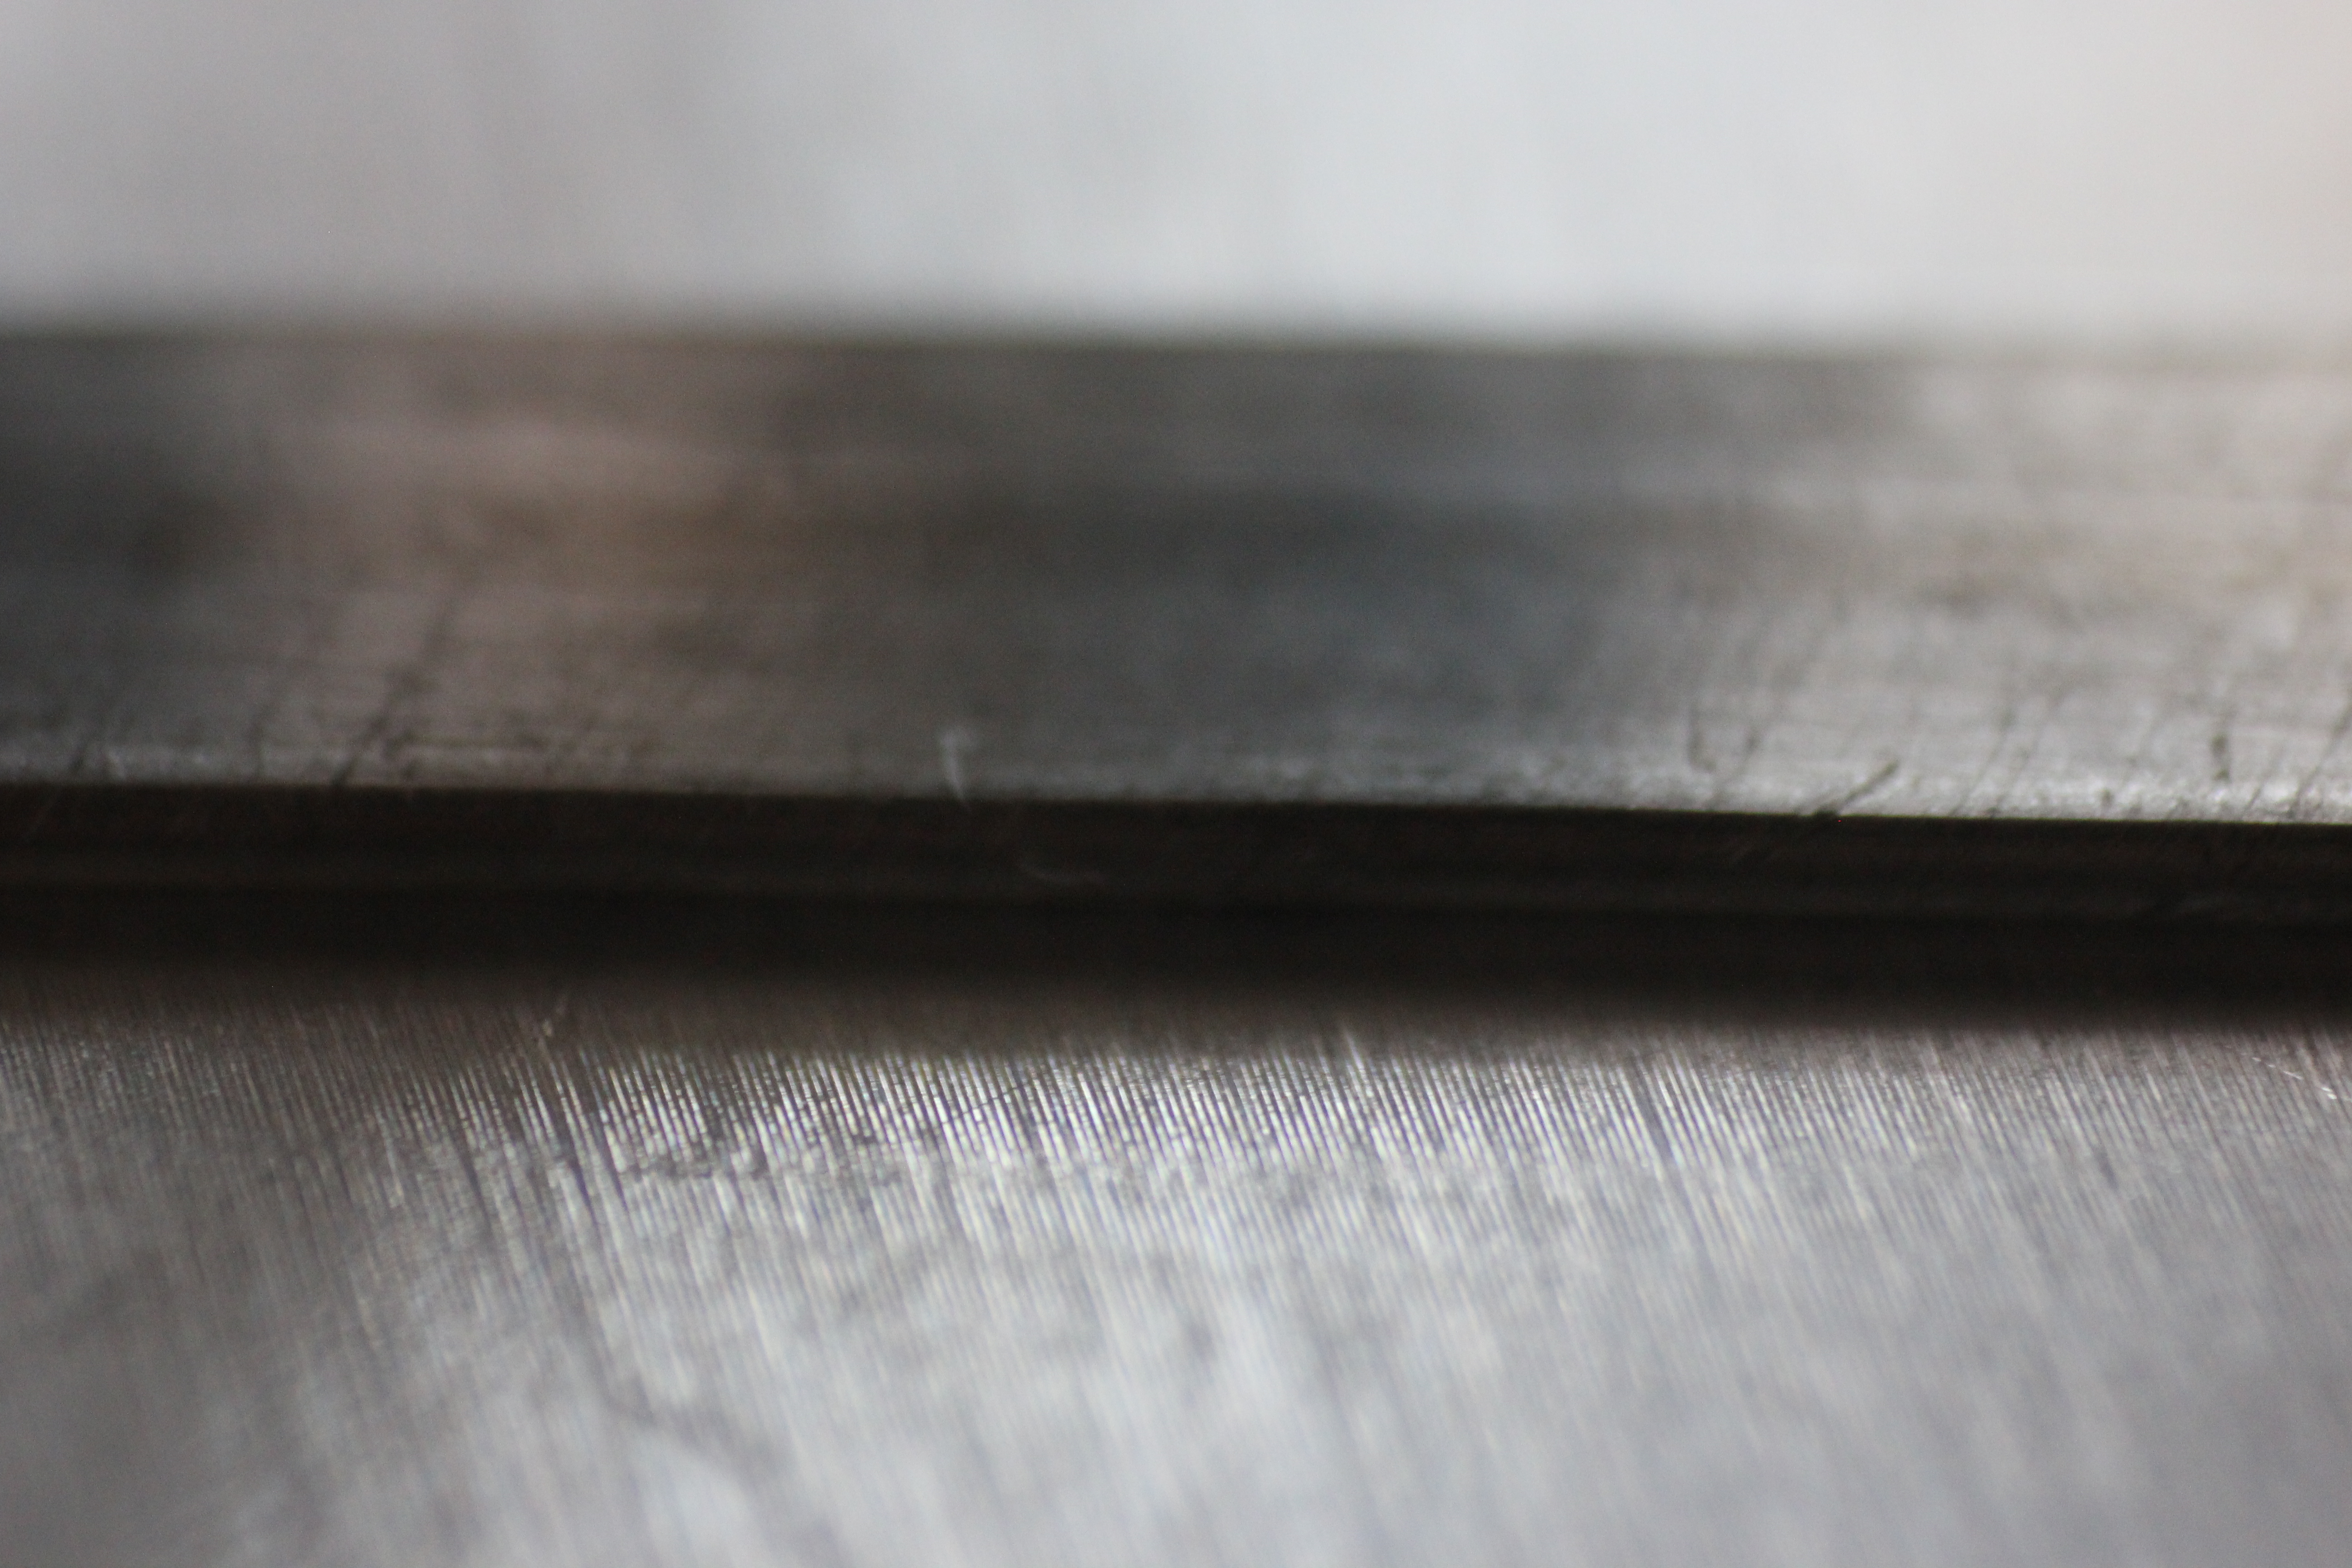
 A new thickness of the gasket is around 0.7mm, the wire used was of 2mm diameter.
Even with new gasket it was not able to turn the spectrometer filament on, so we had to connect the high vacuum gauge to the system. It showed that pressure gets to 3×10^-5 torr, what should be OK, after turning the filament on, the pressure in the system rose to 1×10^-4 torr immediately – it was clear the filament needs to be degassed. The time of the filament on gets longer with every attempt. It stayed on for half a second on the beginning, after 30 attempts it was around 30 seconds before it turned off automatically. Interesting thing was, that when the high vacuum gauge was turned on, it took shorter time to turn off the filament.. Now it is degassed and the filament stays on, I also checked all the seals in the system with helium, it is tight! I tried to put some helium into the inlet port and the machine detects it nicely!
Ron and me spent a great deal of time on that machine and I will be happy to use it also for other’s vacuum projects, so if You have any lamps, seals etc. to check for leak, don’t hesitate to let me know, we will arrange the test!
Update: the original PI1 has 850Ω